AnyWave:H2
Contents
Purpose and usage
The plugin computes the connectivity between channels using h2/r2 algorithms.
Select the channels
The first step is to select the channels of interest.
If there is no selection when launching the plugin, a warning message will pop saying that all channels will be used for the computation.
Select sections of data
Insert markers on the data of interest using the Marking tool of AnyWave or used previous marked data.
To launch the plugin on a specific markers selection, use the markers list on the left side of the signal view:
- select the markers of interest in the lis.
- right click and choose Launc Process
- Pick the H2 process and launch.
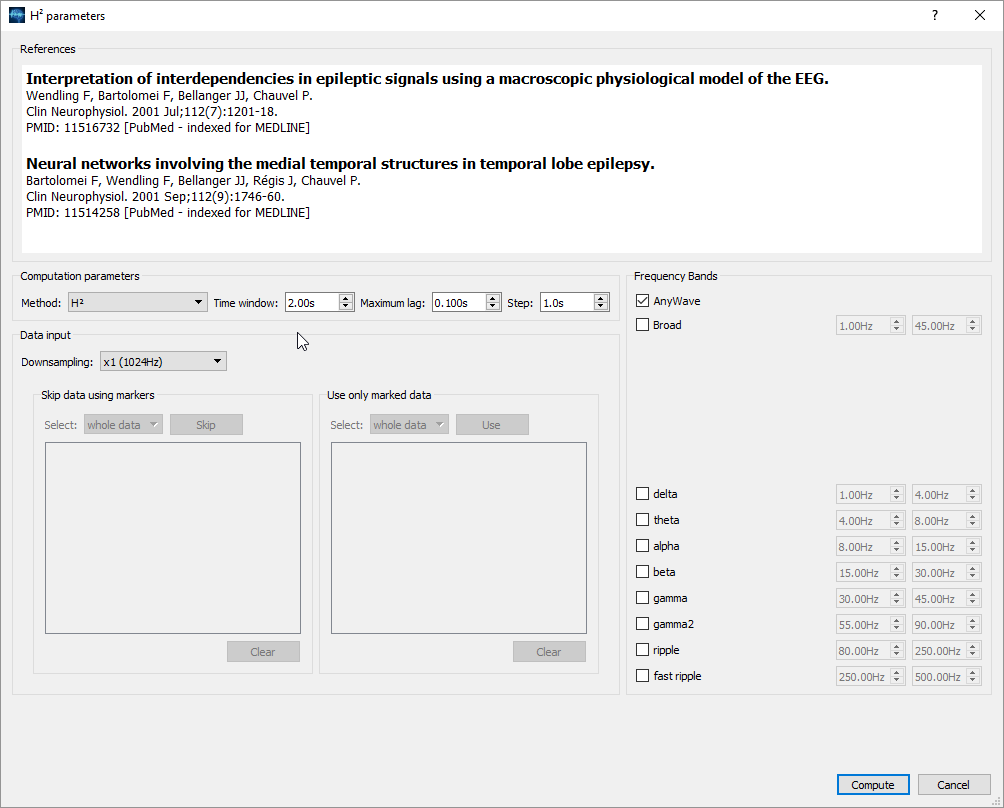
Computation parameters
Data input
To speed up the computation you may want to downsampling the data. The default is to NOT downsample the data (x1).
If you have marked data, you can specify which artefacted parts of the data to avoid in computation using the skip data using markers options:
- select the marker corresponding to the part to skip (ie 'artefact').
- click Skip button to add it to the list of markers to skip.
In the same way, you can also specify on which particular marked data compute the connectivity:
- select the marker corresponding to a period of interest.
- click the Use button to add it to the list of markers to use for computation.
How to script the H² computation
AnyWave allows to script some compatible plug-ins (and H² is compatible) in order to batch the computations of several data sets.
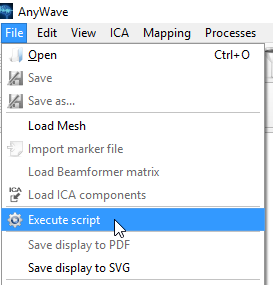
The script file is a JavaScript file that will be executed by AnyWave this way:

A script example
In our example, we have to compute the H² on three data sets. We first have to select the channels, and one or more time selections for these channels.
To do so, we previously prepared a montage file (that will inform about what channels to use in the computation) and for each data set we also prepared a marker file containing the time selections.
For each data sets, we saved a montage and a marker file along with the data file.
// all AnyWave methods or properties are accessible from the anywave object.
var h2 = anywave.getProcess("H2"); // Here we ask anywave for the H2 plugin object.
if (h2) {  // If the plugin is availablen do the computation
	// set process parameters. All the parameters are specific to the H2 plugin.
	h2.windowSize = 4;
	h2.step = 2;
	h2.maxLag = 0.1;

	// set files as input (montage and marker files to use)
	var fi = anywave.getFileInput(); // get the anywave file input object
	// only take .eeg files as input
	fi.addFileExtension("*.eeg"); // here we set all the .eeg to be used as data sets.
	// Define a base folder where to look for data. All sub folders will be explored.
	fi.setRootDir("d:\\data\\H2");
	// Defining how to filter data before processing them. Here we filter SEEG channels only.
	fi.setFilters("seeg", 45, 15);
        h2.matlabFile = "H2_15_45Hz";  // change the output matlab file to reflect the filter options
	// run the H2 process on data
	anywave.runProcess(h2, fi);
        // Change filter options and rerun the H² process
	fi.setFilters("seeg", 0, 15);
	h2.matlabFile = "H2_0_15Hz";  // change the output matlab file to reflect the filter options
	anywave.runProcess(h2, fi);  // run the plugin again.
}
You may have noticed that the script did not mention a montage or a marker file. That is due to the root dir properties we defined.
Using a root dir will trigger a recursive folder exploration to find the data set files (using the extension specified.).
When a data file is found matching the extensions, then AnyWave will also look for a marker file and a montage file in the same directory.
So, a good practice is to prepare your data sets using different folders under a root directory and to put a marker and a montage file along with all your data files.
A root folder:

One data sub-folder:

